
September 2010
Curtis Jenny Progress
11 - September - 2010 - 08:05
Here is a little update on what I've been up to. I've started a new project. This time it is a wooden/metal kit instead of plastic. It is a World War I era biplane, and will end up as a static display (non flying) model with all the internal details visible.
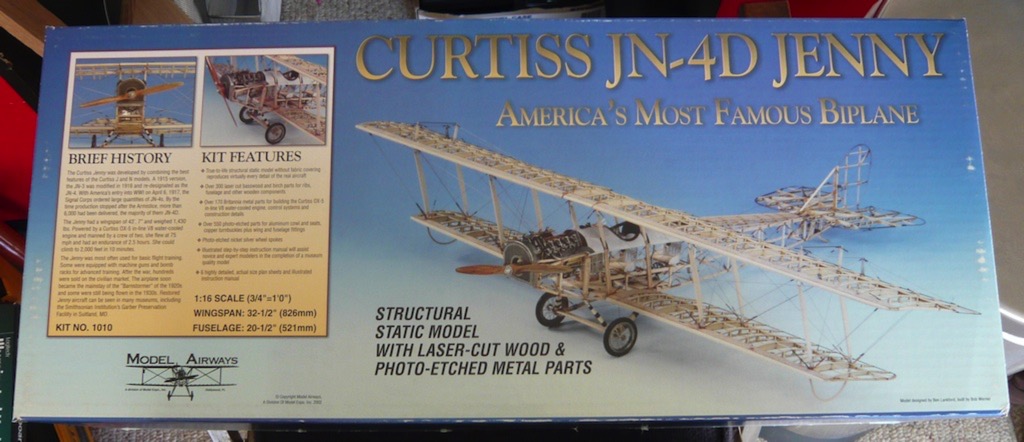
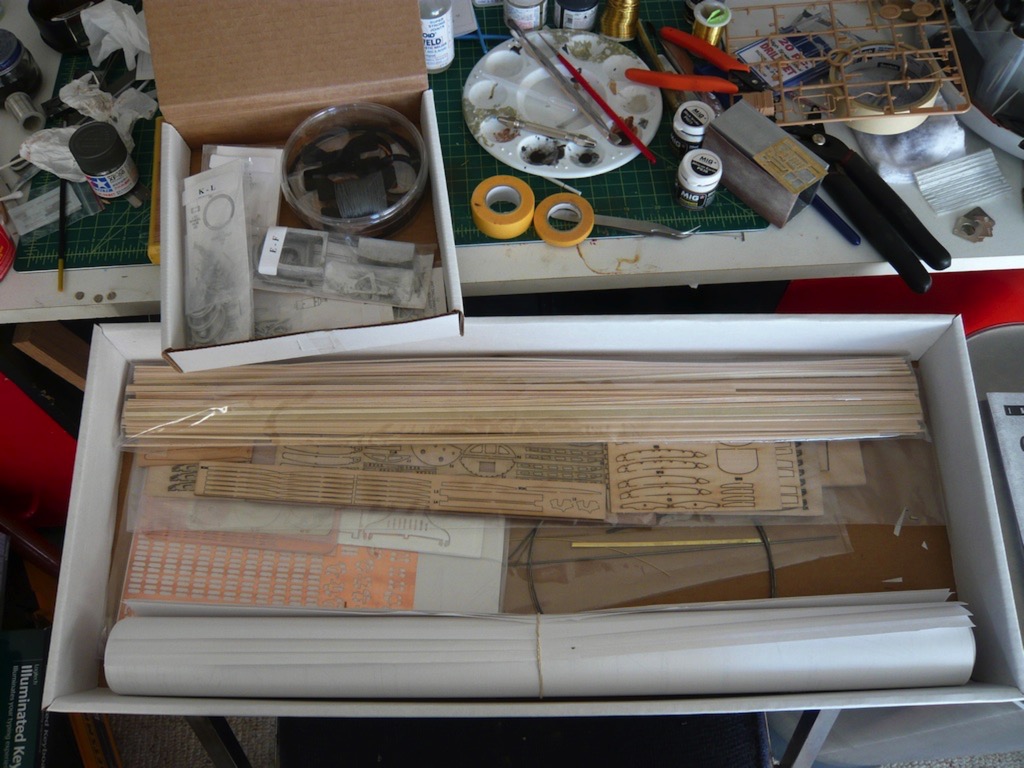
This one is both similar and quite different from the wooden ship that I previously built. This project has generally the same raw materials: laser-cut wood, stock strip wood, cast white metal, etc. The big difference this time around is that I'm not following a course on the projects construction. This just means that I have to follow the somewhat rough instructions that come with the model itself and do much more deciphering of the sheet plans. This isn't a bad thing, just a different challenge.
So, I've decided to start with one of the top wing panels, in order to go through most of it's construction, and learn what I can in the process. In theory, this should confine all my screw-ups to just one wing panel, making for less fixing later and smoother/faster construction of the other three panels. With that said, here are some photos of my progress thus far:
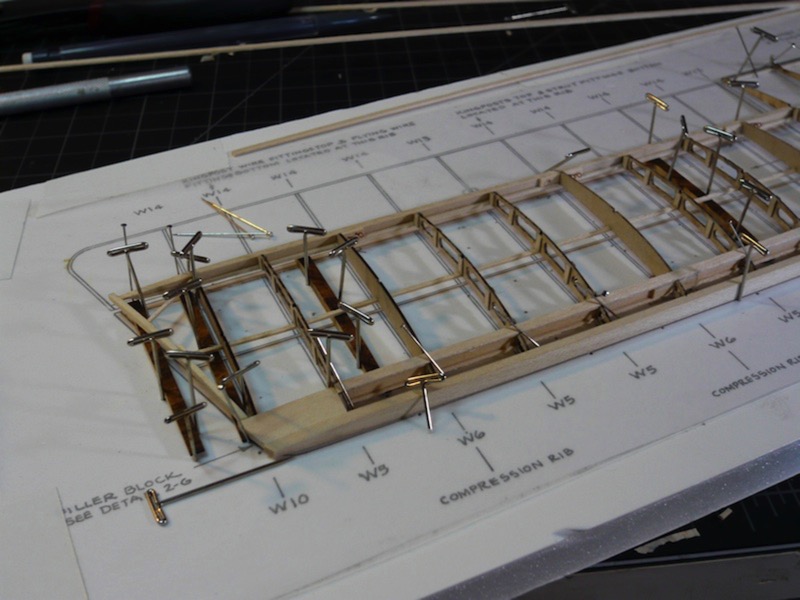
Initial wing ribs layout.
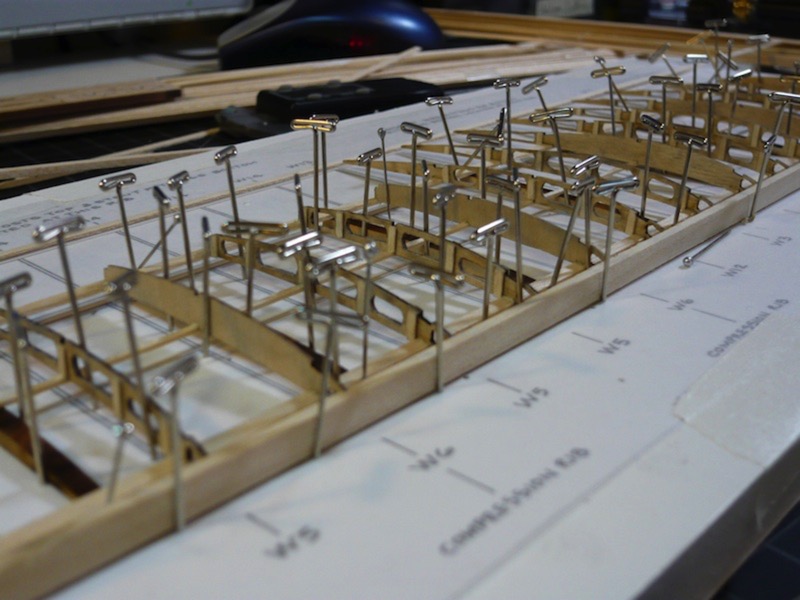
Photo-etched fittings for later wire rigging.
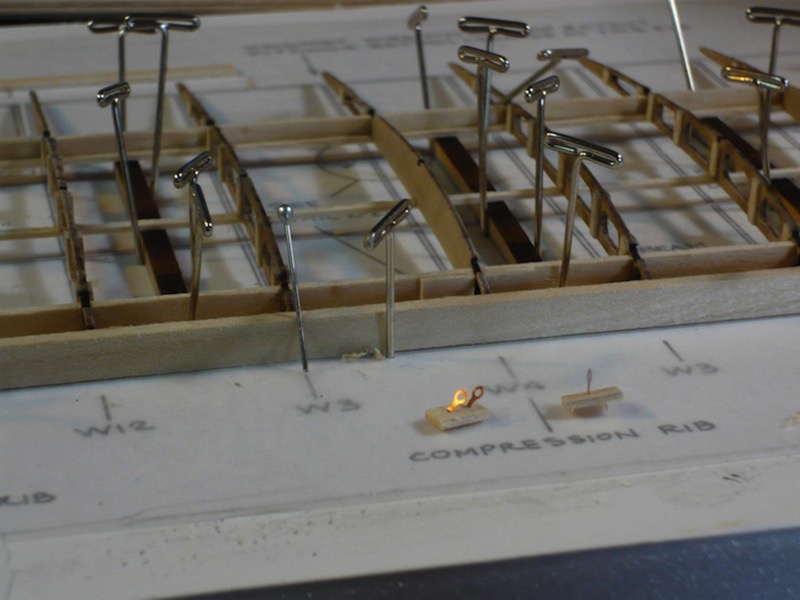
Bending the wing tip rib.
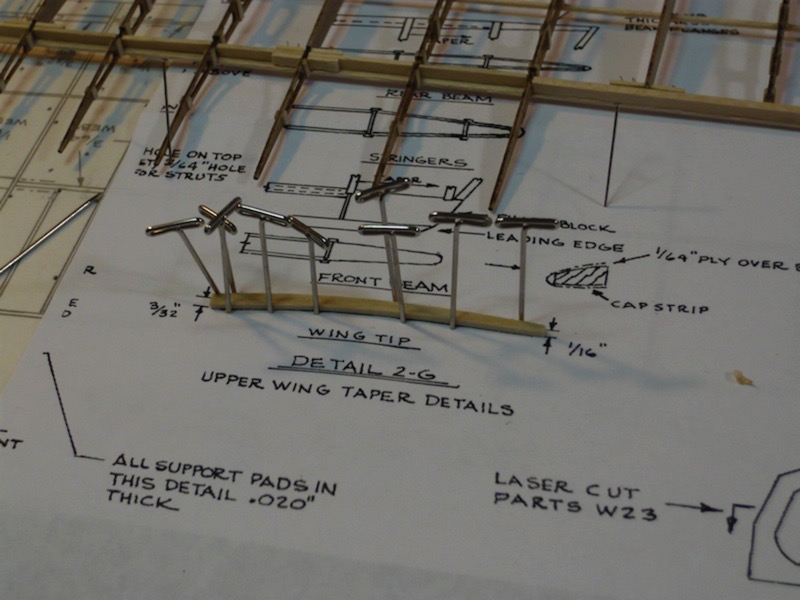
More wing tip construction.
With the thin plywood leading edge cap strip.

Progress has been a bit slow so far, as I've not had as much free time as I would like. But, stay tuned for more progress, some wood stain color tests and further adventures in modeling!
This one is both similar and quite different from the wooden ship that I previously built. This project has generally the same raw materials: laser-cut wood, stock strip wood, cast white metal, etc. The big difference this time around is that I'm not following a course on the projects construction. This just means that I have to follow the somewhat rough instructions that come with the model itself and do much more deciphering of the sheet plans. This isn't a bad thing, just a different challenge.
So, I've decided to start with one of the top wing panels, in order to go through most of it's construction, and learn what I can in the process. In theory, this should confine all my screw-ups to just one wing panel, making for less fixing later and smoother/faster construction of the other three panels. With that said, here are some photos of my progress thus far:
Initial wing ribs layout.
Photo-etched fittings for later wire rigging.
Bending the wing tip rib.
More wing tip construction.
With the thin plywood leading edge cap strip.
Progress has been a bit slow so far, as I've not had as much free time as I would like. But, stay tuned for more progress, some wood stain color tests and further adventures in modeling!