
Armed Virginia Sloop - Odds and Ends
27 - September - 2009 - 20:43
I was off on vacation for a week, so the updates lagged a bit behind. But, now I am back and have had a little time to work on the ship.
I don't really have any great insights to share this time around, so just a quick post to update my progress and show a few photos of where I am at the moment.
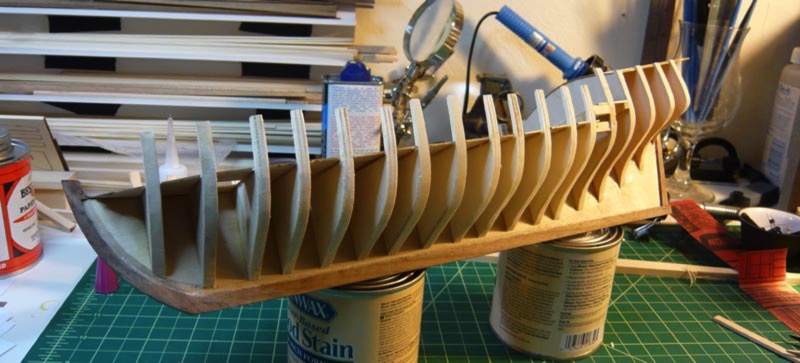
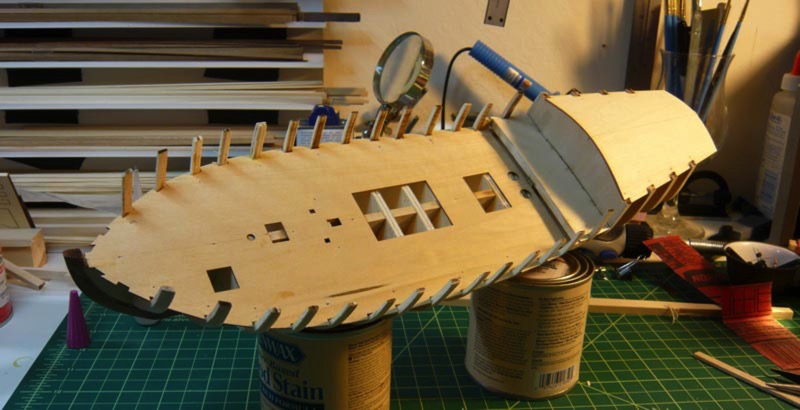
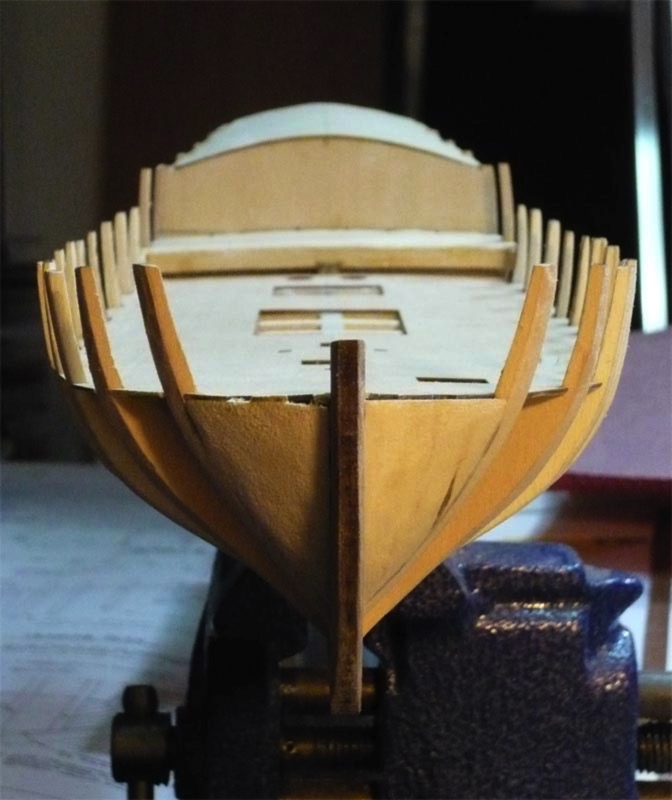
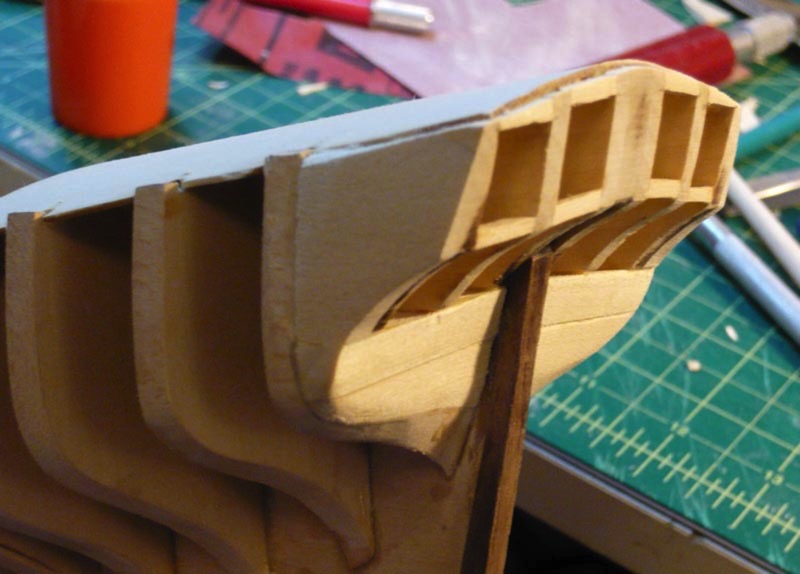
First off, I had to wrap up a few remaining deck fixtures. This included the little stairs to the top deck/roof, lots of little cleats, attaching all the bases for the swivel cannons, the swivel cannons themselves, various holes being drilled for future attachments, etc. Also, I added the channels, chainplates and deadeyes (those wings and round things sticking off the sides of the ship) in preparation for adding the masts and rigging.
Next, since the ship is mostly just getting rigging stuff added from this point on, I built the real base, which is a model of the launching ways. This was built all from 1/4" basswood stock, cut to size, stained, and then glued into place. There was a little bit of fiddly work, getting all the proper angles cut into the upright support parts, but nothing too tough :)
Finally, I've started work on the masts. First up was the bowsprit (big one) and the jibboom (little one). The bowsprit was fashioned from a 3/8" dowel which has to be slimmed down by using a combination of sanding drums in a dremel, and sanding the dowel while it is spinning in a drill. This was mostly quite a bit of experimentation, and I can't say that either method really worked all that well, but it got the job done. Anyhow, that's where I am now, with the bowsprit temporarily installed. Next up are various little fittings on the bowsprit, and then moving on to the main mast.
I don't really have any great insights to share this time around, so just a quick post to update my progress and show a few photos of where I am at the moment.
First off, I had to wrap up a few remaining deck fixtures. This included the little stairs to the top deck/roof, lots of little cleats, attaching all the bases for the swivel cannons, the swivel cannons themselves, various holes being drilled for future attachments, etc. Also, I added the channels, chainplates and deadeyes (those wings and round things sticking off the sides of the ship) in preparation for adding the masts and rigging.
Next, since the ship is mostly just getting rigging stuff added from this point on, I built the real base, which is a model of the launching ways. This was built all from 1/4" basswood stock, cut to size, stained, and then glued into place. There was a little bit of fiddly work, getting all the proper angles cut into the upright support parts, but nothing too tough :)
Finally, I've started work on the masts. First up was the bowsprit (big one) and the jibboom (little one). The bowsprit was fashioned from a 3/8" dowel which has to be slimmed down by using a combination of sanding drums in a dremel, and sanding the dowel while it is spinning in a drill. This was mostly quite a bit of experimentation, and I can't say that either method really worked all that well, but it got the job done. Anyhow, that's where I am now, with the bowsprit temporarily installed. Next up are various little fittings on the bowsprit, and then moving on to the main mast.
blog comments powered by Disqus