Armed Virginia Sloop - Planking Complete
03 - July - 2009 - 16:54
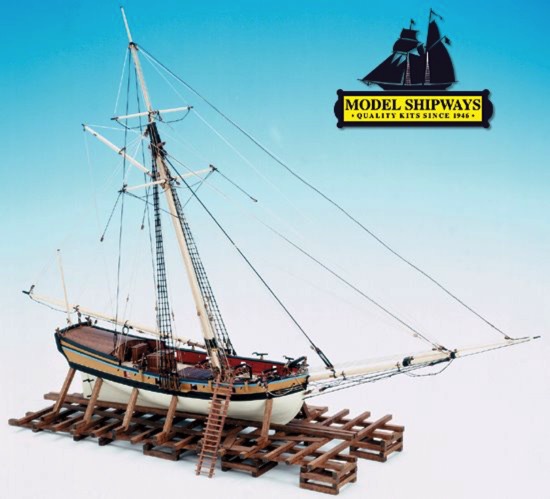
I've wrapped up the hull planking at long last. All in all, it was not too difficult overall, once I understood what the general goals were. It was a bit tedious, after a while, but I think the end result is very pleasing. Here are a few images of the unsanded and unfinished planking. In the second image, you can see where I goofed the planking pattern a bit.
Next I spent some time sanding the planking all smooth, starting with 150-grit sandpaper and then moving to 280 and then 320. Then, a coat of sanding sealer, some more sanding, and finally three coats of satin polyurethane.
Today, I spent time drilling and cutting and sanding the oar sweeps (diagonal holes in the sides). These were a little tricky, since the center hole is only 3/32" and I had to resort to the tiny bits (#62, I think) to drill through for the diagonal parts. Once the holes were drilled, I cut in between the holes with a tiny saw, and then made a thin sanding strip with some planking glued to sandpaper. I used that little sander to even out the interior of the holes. Then I painted the interior of each hole red, and then put polyurethane over everything that got painted or sanded, in order to have a nice uniform finish over everything. Finally, I decided to built a quick little working stand for the ship, since most of the work from this point on it on the deck. I just cut up some balsa that I had laying about and built a little stand, using the dremel to quickly get the stand to conform to the shape of the hull. There are some little felt circles in between the stand and hull, to avoid scrapes over time.
The kit comes with wood to build a stand, but since that wood is basswood, I was a little wary of building that stand now, since I think the basswood would get pretty beat up over time. I figure that this little balsa stand should do the trick for the time being and I don't have to worry too much about it getting broken. Anyhow, this is where the model stands at the moment:


Next I spent some time sanding the planking all smooth, starting with 150-grit sandpaper and then moving to 280 and then 320. Then, a coat of sanding sealer, some more sanding, and finally three coats of satin polyurethane.


Today, I spent time drilling and cutting and sanding the oar sweeps (diagonal holes in the sides). These were a little tricky, since the center hole is only 3/32" and I had to resort to the tiny bits (#62, I think) to drill through for the diagonal parts. Once the holes were drilled, I cut in between the holes with a tiny saw, and then made a thin sanding strip with some planking glued to sandpaper. I used that little sander to even out the interior of the holes. Then I painted the interior of each hole red, and then put polyurethane over everything that got painted or sanded, in order to have a nice uniform finish over everything. Finally, I decided to built a quick little working stand for the ship, since most of the work from this point on it on the deck. I just cut up some balsa that I had laying about and built a little stand, using the dremel to quickly get the stand to conform to the shape of the hull. There are some little felt circles in between the stand and hull, to avoid scrapes over time.
The kit comes with wood to build a stand, but since that wood is basswood, I was a little wary of building that stand now, since I think the basswood would get pretty beat up over time. I figure that this little balsa stand should do the trick for the time being and I don't have to worry too much about it getting broken. Anyhow, this is where the model stands at the moment:

blog comments powered by Disqus
