Wing Staining & Rigging
12 - February - 2011 - 17:12
Work on the wings continues...
Since the last post, I've finished the staining of the wing panels and then put a few coats of a semi-gloss water-based polyurethane. This is to seal up the wood as well as to add some depth to the finish. Overall, I am pretty happy with the way the finish turned out and it makes a fantastic contract to the white metal and copper parts. Here is an image of one of the stained and finished lower wing panels:
It did take quite a while to get the stain and poly on there, since it all had to be brushed on by hand. I feel that the results were worth it, though.
The next step in the process was to add the adhesive copper tape strips to the ends of the ribs at the trailing edge. These are to simulate the bands of metal that clamped on the trailing edge on the real plane. This was pretty easy, since the copper tape is very malleable, and can be smoothed down with a fingernail and the edges burnished smooth with some tweezers.
Here is a photo of the aileron edge with tape applied. I really like the way the copper looks against the stained wood.
Next, I pulled out a few of the white metal parts and had a go at polishing them up a bit. They come with a fairly matte finish and with some imperfections in the casting. I bit of work with various sanding sticks and they shine up nicely. Here you can see the aileron control horns attached to the ailerons, and also the fake hinges (made of strip brass) sticking off of the back of the parts.
Now, I am on to the rigging step, where all the turnbuckles and wires that maintain the internal wing structure are put into place. I'm finding that some of my experience on the Armed Virginia Sloop model is coming in handy, in that I can reuse some of the rigging techniques that I learned on that project. Here is a pic of the first part that has been completed:
This rigging stuff, while not too complicated, is a bit fiddly and generally slow-going. I'm expecting that I'll probably spend the next couple of weeks on this, and will have another update once that is complete. Stay tuned until then!
Since the last post, I've finished the staining of the wing panels and then put a few coats of a semi-gloss water-based polyurethane. This is to seal up the wood as well as to add some depth to the finish. Overall, I am pretty happy with the way the finish turned out and it makes a fantastic contract to the white metal and copper parts. Here is an image of one of the stained and finished lower wing panels:

It did take quite a while to get the stain and poly on there, since it all had to be brushed on by hand. I feel that the results were worth it, though.
The next step in the process was to add the adhesive copper tape strips to the ends of the ribs at the trailing edge. These are to simulate the bands of metal that clamped on the trailing edge on the real plane. This was pretty easy, since the copper tape is very malleable, and can be smoothed down with a fingernail and the edges burnished smooth with some tweezers.
Here is a photo of the aileron edge with tape applied. I really like the way the copper looks against the stained wood.

Next, I pulled out a few of the white metal parts and had a go at polishing them up a bit. They come with a fairly matte finish and with some imperfections in the casting. I bit of work with various sanding sticks and they shine up nicely. Here you can see the aileron control horns attached to the ailerons, and also the fake hinges (made of strip brass) sticking off of the back of the parts.


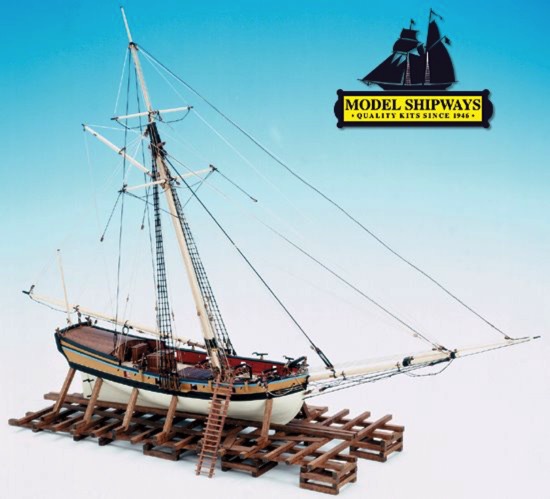
Now, I am on to the rigging step, where all the turnbuckles and wires that maintain the internal wing structure are put into place. I'm finding that some of my experience on the Armed Virginia Sloop model is coming in handy, in that I can reuse some of the rigging techniques that I learned on that project. Here is a pic of the first part that has been completed:

This rigging stuff, while not too complicated, is a bit fiddly and generally slow-going. I'm expecting that I'll probably spend the next couple of weeks on this, and will have another update once that is complete. Stay tuned until then!
blog comments powered by Disqus
